Storiis Support
Navigating Storiis
Updated
Storiis is built around a simple idea: all the pieces of your story should be able to talk to one another.
A character is not just a profile tucked away in a digital filing cabinet. They appear in scenes, carry storylines, move through a journey and affect the shape of the Plan. A location is not merely an interesting place with an evocative picture; it’s somewhere your scenes actually happen. A worldbuilding detail can become exposition that you deliberately reveal at the moment it matters.
The six sections across the top of the window give you different ways to work with that connected information.
Moving Between Sections
Select a section in the header to open it. You can also use Command–1 through Command–6, following the sections from left to right.
Storiis remembers the section you were using in each document window. When you reopen a story, you can get back to work without having to retrace your steps through the app.
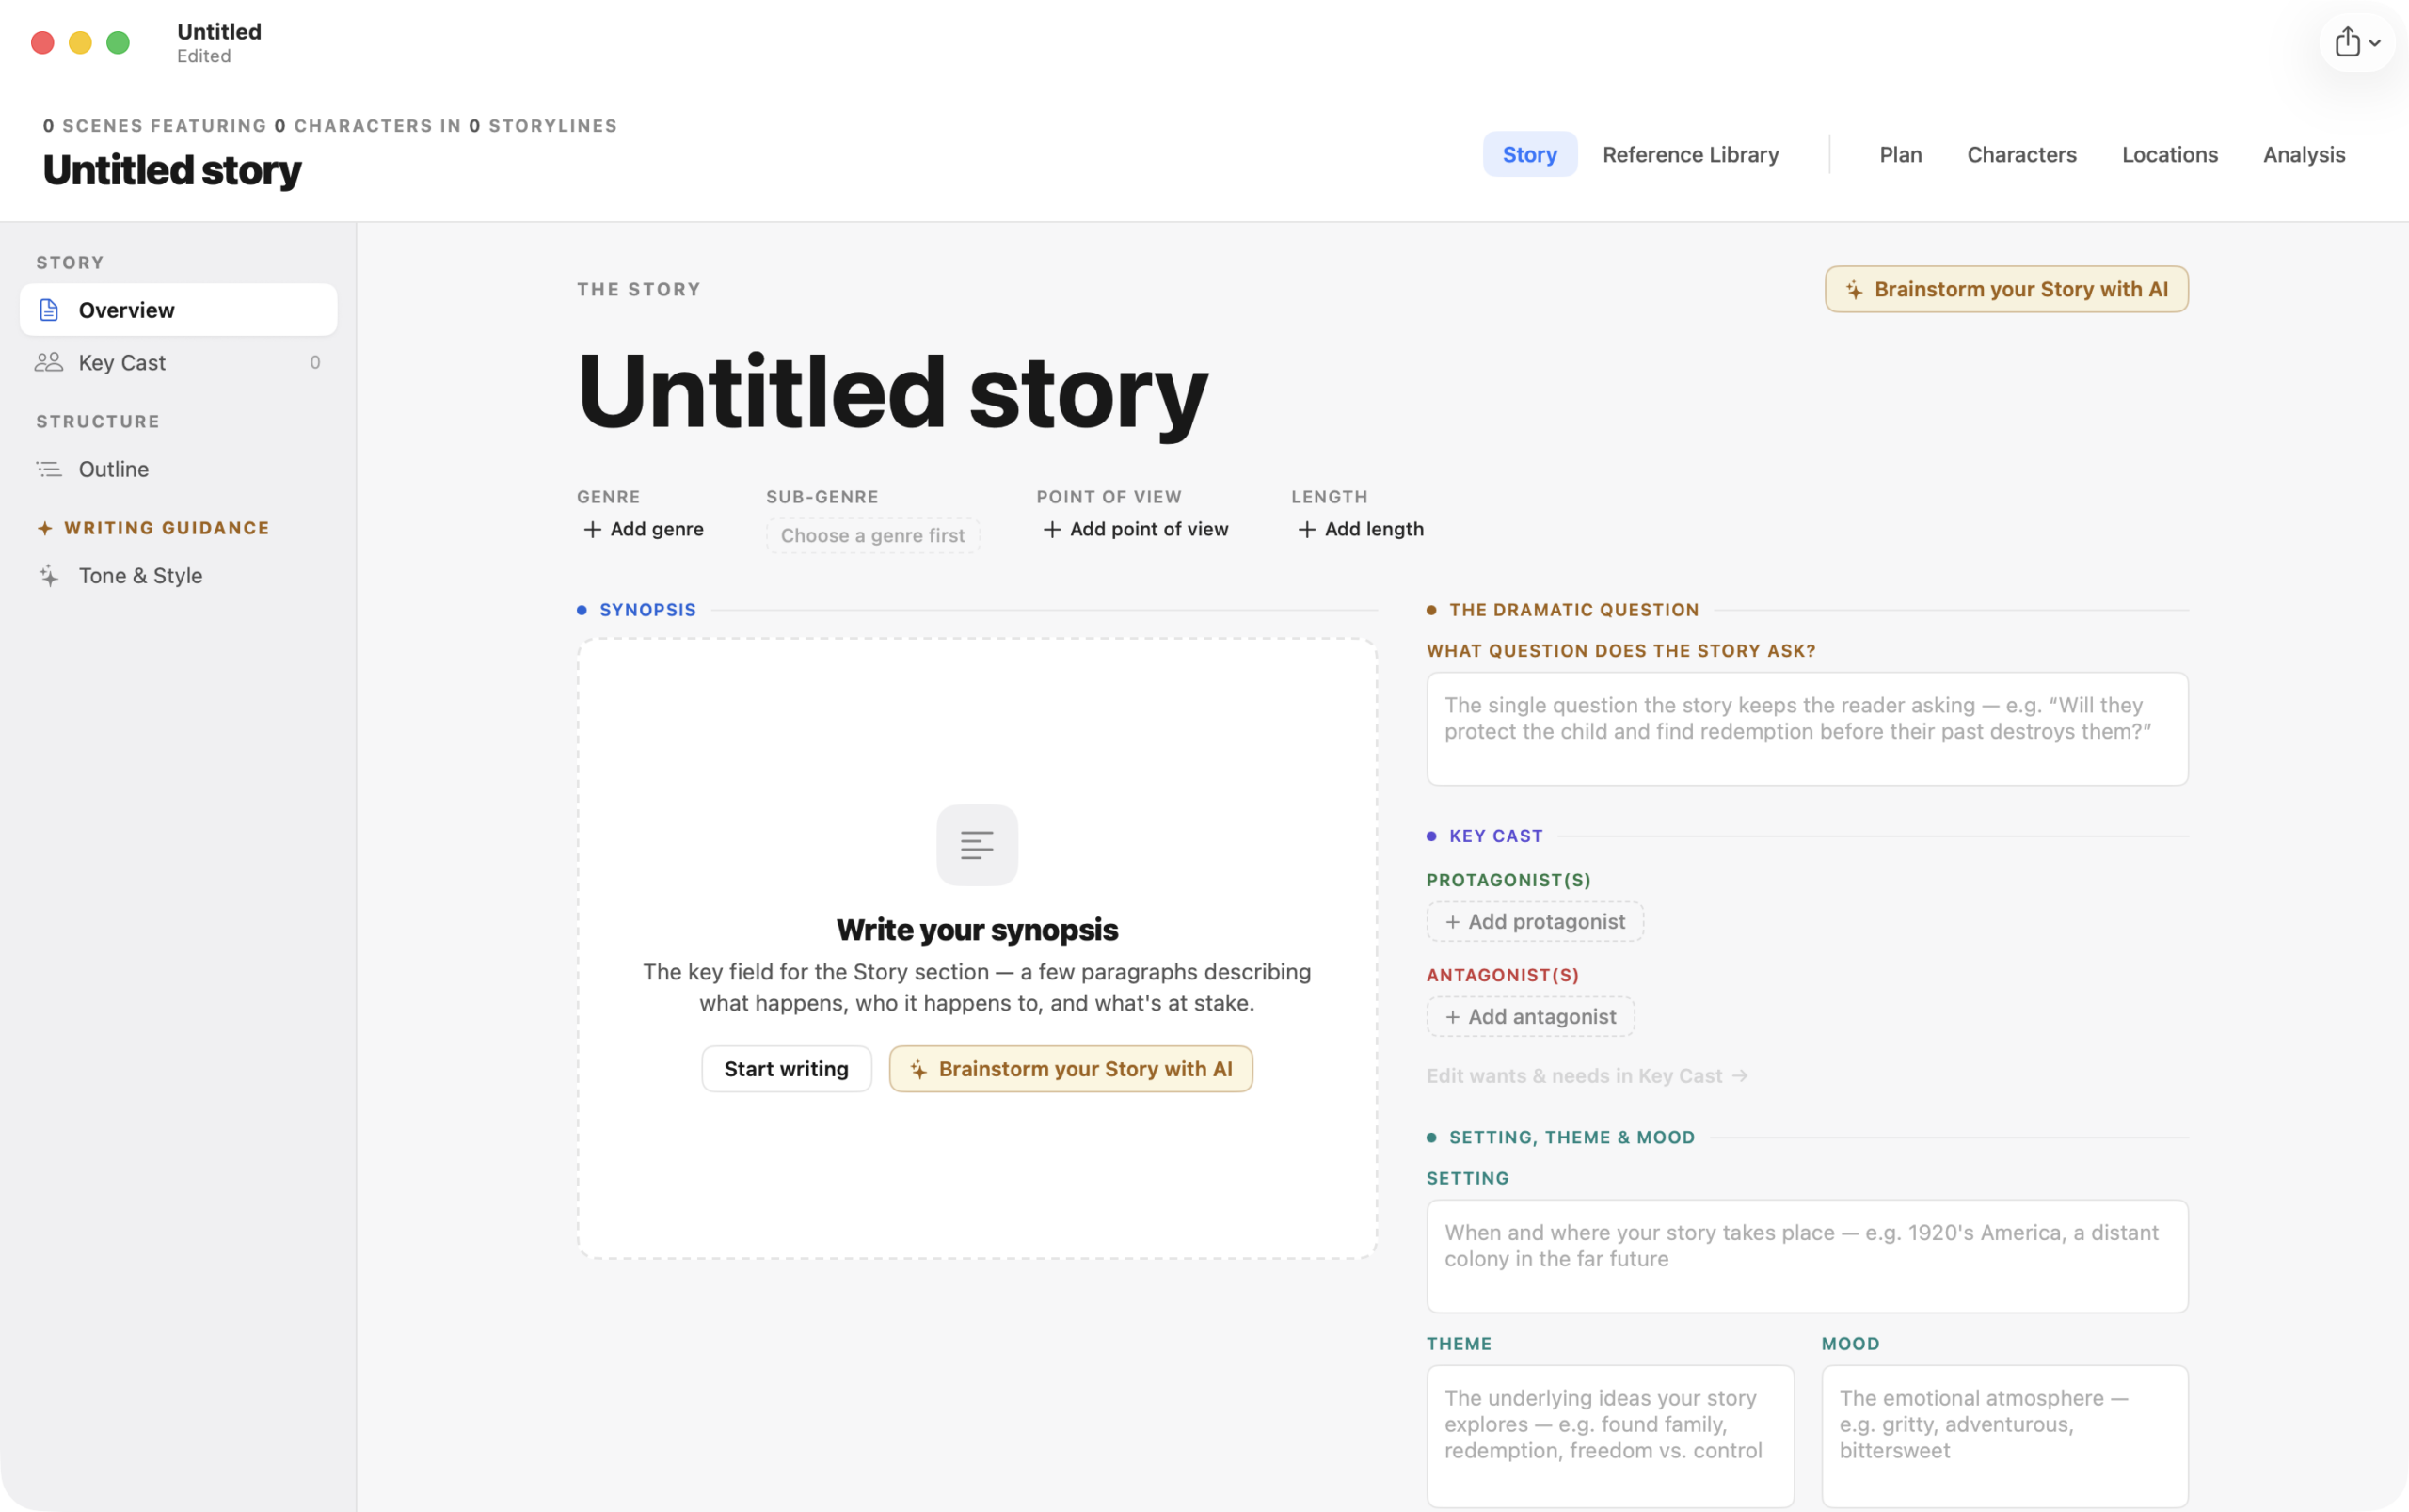
Story
The Story section describes the story as a whole. This is where you can capture its title, genre, length, point of view, synopsis, setting, themes, mood, dramatic question and key cast. You can also build a long-form outline and provide guidance about tone and prose style.
Use Story when you need to answer, “What is this thing I am making?”
Reference Library
The Reference Library holds the material that supports your story: worldbuilding elements, whiteboards, notes, reference timelines, index-card sets, files and links.
Use it for the facts, ideas and source material you want close at hand without forcing every interesting thought directly into the Plan. Some Reference Library items can also be made available to scenes as exposition items.
Plan
The Plan is where the pieces come together. It includes three construction views and one reading view:
- Scenes lays out the scenes in narrative order and shows how each one uses story beats, characters, locations, exposition and timing.
- Timeline places scenes and story-world events according to when they happen inside the story world.
- Cards turns the Plan into a more visual scene-card board.
- Summary lets you read the scene flow as a continuous recap or generate an AI-written summary.
The Plan is usually where you will spend the most time, but it does not need to be where you begin. Storiis is quite content to let you start with a character, a worldbuilding idea or the one scene you have been replaying in your head for six months.
Characters
The Characters section contains your cast gallery and a detailed profile for every character. Profiles cover identity, backstory, journey, motivations, physicality, psychology and how the character is used across the Plan.
Use Characters to understand who a person is—and then use the Plan to make sure the story gives them the chance to prove it.
Locations
The Locations section presents your story’s places as a visual gallery. You can organize them by category, add descriptions and reference images, and see which scenes use each place.
Locations can be created here or while building a scene. Either way, there is only one location record, so improvements made in Locations are reflected wherever that place appears.
Analysis
The Analysis section uses AI to examine the Plan through several craft lenses, including cause and effect, setup and payoff, continuity, pacing, character arcs and exposition timing.
Analysis is most useful after you have built a meaningful set of scenes. It is not a stern mechanical editor waiting to issue a grade. Think of it as a set of fresh eyes that can point toward areas worth another look. You remain the author, which means you also retain the authorial privilege of deciding that a suggestion is nonsense.
How Information Connects
Most items in Storiis are shared rather than copied. For example:
- Create a character in the Characters section—or directly from the Scene Wizard.
- Add that character to one or more scenes.
- Assign their point of view, traits and journey beat for a particular appearance.
- Return to the character’s Usage and analysis section to see how their presence develops across the Plan.
The same principle applies to locations, storylines, story beats and exposition. This is why it is usually better to connect an existing item than to create a second version with a slightly different name. “Old Lighthouse,” “The Old Lighthouse” and “Lighthouse (Old)” may feel like three separate places after a long day, but your continuity will disagree.
A Good Place to Begin
If you are starting with a blank document, try this:
- Add a short synopsis in Story → Overview.
- Add your protagonist and antagonist to the Key Cast.
- Create one main storyline and a few story beats.
- Add the opening scene and connect it to the relevant beat and characters.
- Continue adding only the information that helps you decide what happens next.
For a complete walkthrough, continue to Example Workflow. If you want AI to help you develop the material, see Example AI-Assisted Workflow or the complete AI Tools reference.